Protect bathroom wallpaper with the right ventilation, trims, seams and substrate prep. Learn what sealers can and cannot do — and the common mistakes to avoid.
You protect bathroom wallpaper by controlling the room, not by coating the paper. Ventilation and moisture control manage the environment, correct placement keeps wallcovering out of direct water, and trims with proper seam detailing protect the transitions where failures actually begin.
Sealers are a targeted optional extra, not a whole-wall waterproofing layer. They can change sheen, breathability and warranty cover, so they belong only on details where the wallcovering manufacturer approves them.
Sealers add splash and abrasion resistance at details; they cannot replace ventilation, correct placement or approved trims.
Key Takeaways
Ventilation is the primary protection: run mechanical extraction 15–20 minutes after showers to hold humidity below 60% RH.
Wallpaper belongs in splash-adjacent zones, never inside a shower enclosure or within 300 mm of a basin tap.
Substrate moisture above roughly 12% WME on plasterboard risks adhesive bond failure, even with a perfect wallcovering.
PVC capping trims beat paper butt joints at corners: 3 of 24 bathrooms showed edge lift with butt joints within 12 months.
Never seal a whole wall without manufacturer approval — sealers can change sheen, breathability and warranty cover.
How Can You Protect Wallpaper in a Bathroom Without Turning It Into a Wet Room?
A wallpapered bathroom works when it is treated as a humid room, not a wet room. Keep the wallcovering dry in normal use and let extraction remove the moisture showers release.
Water vapour, not visible spray, does most of the damage. Vapour condenses on cooler surfaces, migrates into seams and cut edges, and softens the adhesive holding the wallcovering to the substrate. Once moisture reaches the substrate, the bond releases from behind and the sheet lifts.
Wallcoverings that survive humid rooms share three traits: a wipe-clean face, a correctly primed substrate behind them, and a datasheet that states humid-area suitability. Vinyl-faced wallcovering on primed plasterboard with a capped splash edge behaves very differently from bare paper in the same room.
Why Does Ventilation Matter More Than Wallpaper Choice?
Ventilation decides how long moisture stays in the room. Wallpaper choice only decides how well the surface tolerates that moisture while it is there.
A shower pushes relative humidity far above ambient within minutes. Extraction removes that vapour before it condenses on cooler walls and ceilings. Without adequate run-on, the coldest surface — usually an external wall behind the vanity — becomes the condensation point, and that is exactly where wallcovering is normally hung.
Mechanical extract fans in wet rooms should run 15–20 minutes after shower use to hold relative humidity below 60% RH, the level at which most wallcovering adhesives begin losing bond strength (ISO 17772 / ASHRAE 62.2, 2023). An extractor fan for bathroom wallpaper installations needs matching to room volume, not just a timer.
Where Should Wallpaper Be Placed — and Where Should It Never Go?
Wallpaper belongs on bathroom walls that stay dry in normal use. It should never go inside a shower enclosure, directly behind a basin tap, or anywhere that remains wet after every use.
Damage rarely starts across the face of a sheet. Splash travels sideways into a cut edge, wicks behind the wallcovering, and softens adhesive along a line that widens with each use. That is why a moisture resistant wallpaper in a bathroom can look perfect for months and then fail along a single edge.
Treat the first 300 mm around a basin, bath or shower outlet as a hard-finish zone — tile, glass or a solid panel. A hand-held moisture meter at the wall base is the quickest way to confirm that zone is staying dry.
Wallcovering failures almost always begin at an edge, a seam or a penetration — never in the middle of a sheet.
What Does Correct Substrate Preparation Look Like?
Correct substrate preparation means a sound, dry, correctly primed surface that the adhesive was designed to bond to. Clean is not the same as prepared.
Bare plasterboard draws water out of the adhesive before it cures, so the board is sized or primed to slow absorption. Dust, joint compound residue and old paste leave a weak interface. Moisture remaining in the substrate then migrates sideways and releases the bond across a whole sheet rather than one seam.
Wallcovering installation standards (ISO standards for wallcovering and ventilation) treat substrate moisture content and surface absorbency as acceptance criteria before hanging, not as optional checks.
Before any humid-area installation we run a three-stage check: a substrate moisture reading, a primer-to-adhesive compatibility confirmation, and — where a sealer is contemplated — an offcut patch test. On plasterboard we target readings at or below 12% WME, and the patch test exists because some vinyl prints visibly change sheen after sealing.
Trims, Seams and Edges: Where Wallcoverings Actually Fail
Wallpaper edge protection is the difference between an installation that lasts three years and one that lasts ten. Trims, seams and cappings work harder in a humid room than the wallcovering itself.
Seams: Why Butt Joints Are the Weakest Line
A butt joint leaves two cut edges exposed to air, and cut edges absorb fastest. In a humid room the seam is the first place adhesive softens, because vapour reaches the exposed core before it reaches the sealed face.
Where a seam must sit near a water source, a manufacturer-approved seam adhesive or a capping trim over the joint outperforms a plain butt joint. Overlap double-cut seams remain standard practice on flat dry walls; they are not a wet-area strategy.
Internal Corners: Movement and Micro-Gaps
Internal corners move. Timber studs, plasterboard and skim expand and contract at different rates, and wallcovering wrapped tightly into a corner is pulled in two directions at once.
A flexible acrylic or MS-polymer bead absorbs that movement. Paper wrapped hard into a cold internal corner with no movement joint typically shows a hairline split within the first heating season.
External Corners and Cappings: Where Trims Earn Their Place
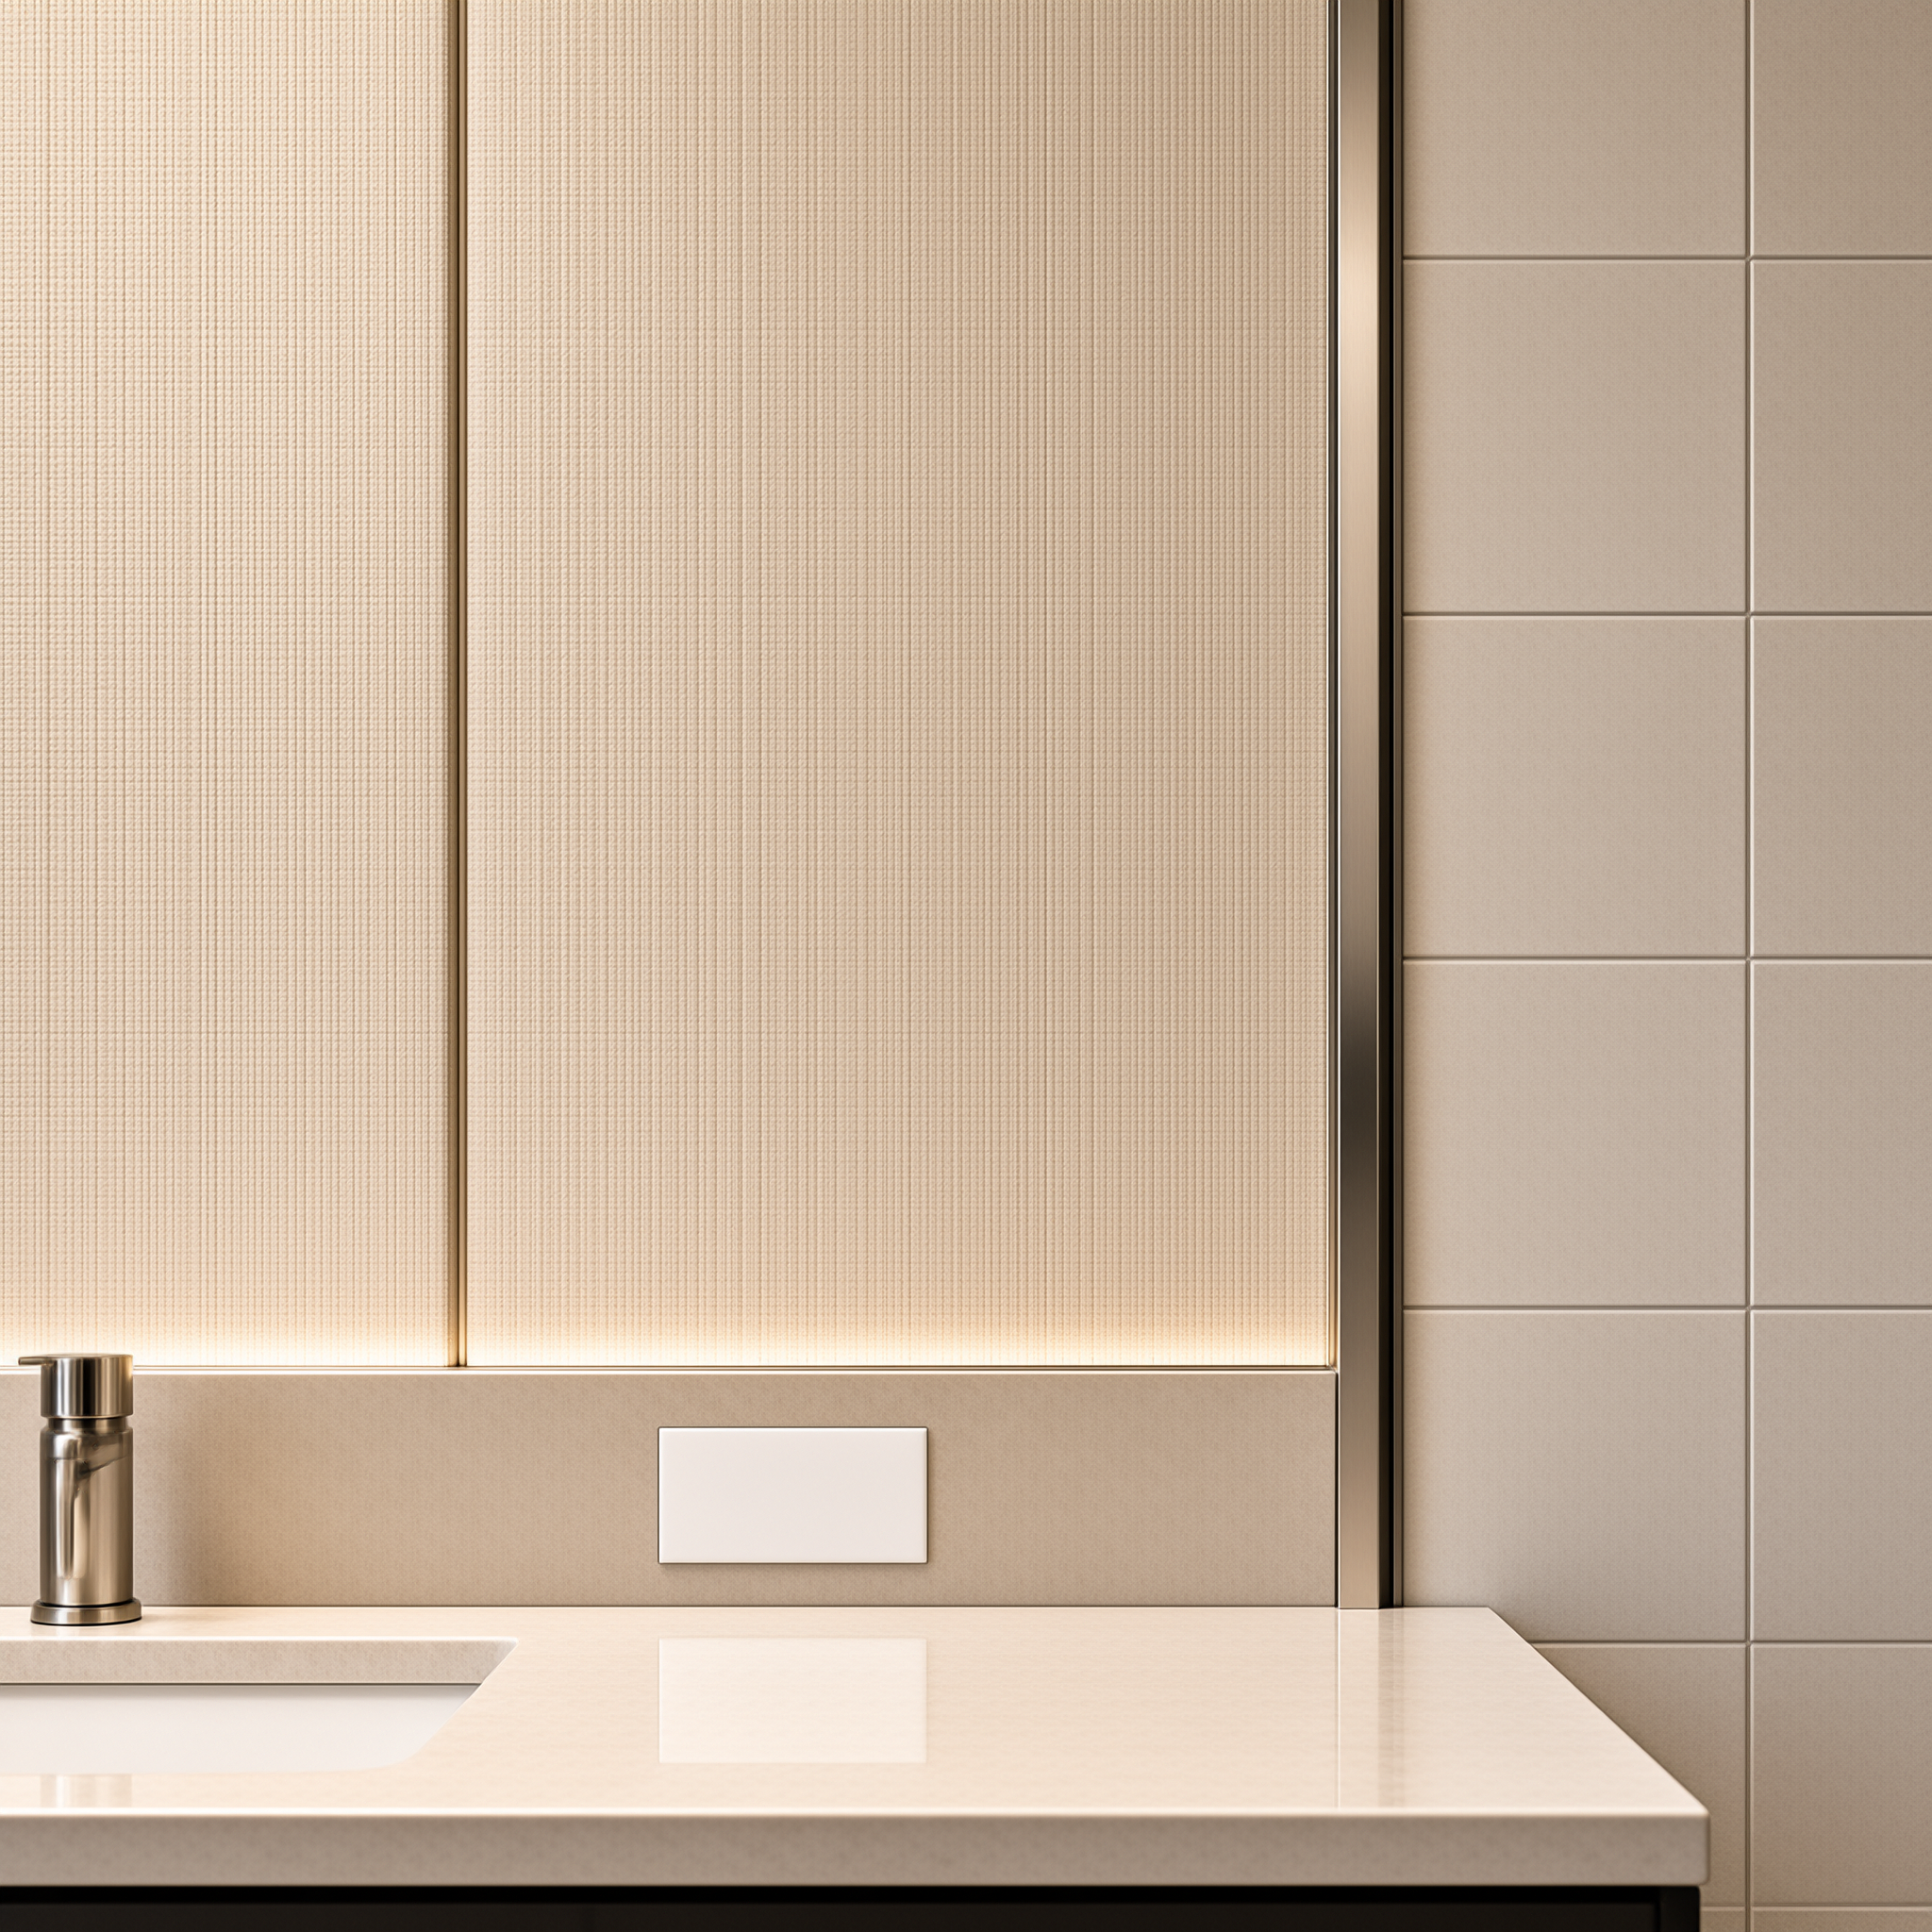
External corners and the vertical edge beside a vanity are where a PVC capping trim earns its cost, because it covers the cut edge completely and can be replaced without rehanging the wall covering.
Capping versus liquid sealing is a genuine tradeoff. Capping hides and protects the edge but adds a visible line, while sealing wallpaper edges in a bathroom keeps the finish flush but leaves the cut edge exposed to abrasion and cleaning. In a 24-room refurbishment, edge lift appeared in 3 of 24 bathrooms (12.5%) within twelve months where butt joints replaced PVC capping trims near the vanity (project sampling observation, 2024; 12-month visual inspection).
| Edge detail | Water ingress protection | Repairability | Best used at |
|---|---|---|---|
| Paper butt joint | Low — cut edges exposed | Poor — repairs lift the adjacent sheet | Dry internal seams only |
| Manufacturer-approved seam sealer | Moderate — face and seam only | Moderate — re-application needed | Flat seams away from splash |
| PVC capping trim | High — covers the cut edge | Good — trim is replaceable | External corners, basin edges, splash zones |
| Silicone or MS-polymer bead | Moderate to high if maintained | Poor — requires re-beading | Tile-to-wallcovering junctions |
Capping profiles on every external corner and on any vertical edge within reach of a basin.
Seam adhesive or seam tape on flat seams, applied across the full width as the manufacturer instructs.
Silicone or MS-polymer beads only at tile-to-wallcovering junctions, never as a trim substitute.
No raw cut edge left within 300 mm of a water outlet.
Movement allowance at internal corners, so the wallcovering is not pinned in two directions.
What Sealers Can and Cannot Do for Bathroom Wallpaper
A wallpaper bathroom sealer is a surface treatment, not a waterproof membrane.
What Sealers Can Add
A sealer adds a harder, more washable film to the face of the wallcovering. That helps in specific places: splash-exposed faces, edges that get wiped regularly, and seams where the manufacturer approves the product.
The gain is abrasion resistance and slower water uptake at the surface. It is real, but it is a surface effect, and it applies only to the exact wallcovering-and-sealer combination that was tested.
What Sealers Cannot Fix
In our offcut testing programme, a generic acrylic clear-coat over a textured vinyl-faced wallcovering produced a measurable sheen shift within 24 hours of curing, while a non-woven wallcovering showed blocked breathability that prolonged drying after a simulated splash cycle.
Neither result is unusual. Both are reasons a manufacturer will refuse warranty cover when a sealer is added without approval — a wallpaper sealer compatibility warning in the datasheet usually exists for exactly this reason.
No sealer compensates for a wet substrate, a missing extract fan or a raw edge in the splash zone. Water that reaches the substrate through an untreated seam still fails the installation from behind, film or no film.
When a Sealer Should NOT Be Applied Without Manufacturer Approval
Do not seal textured, flocked or metallic wallcoverings without written approval, and do not seal any product whose datasheet describes the surface as non-washable or states that the material must remain breathable.
The tradeoff is blunt. A sealer can add durability at a detail, but it can also change sheen, trap moisture behind the face, and void warranty cover on the whole installation. If the product was never tested with that sealer, the risk sits with the installer rather than the supplier.
The wallcovering datasheet names the sealer or sealer class as compatible.
The printed face is smooth enough to accept a film-forming coat evenly.
The area is splash-adjacent, not inside a wet zone.
An offcut patch test shows no sheen change after full cure.
Warranty terms remain intact after application.
How to Clean and Maintain Bathroom Wallpaper Safely
Clean bathroom wallpaper with a damp cloth and mild soapy water, work from the bottom up, and never spray cleaner directly onto seams or edges.
Sprayed liquid runs down the face and collects at the seam, where the cut edge is exposed. A damp cloth cleans the face; running liquid finds the substrate. Vinyl wallpaper bathroom care is therefore about controlling how liquid reaches the surface, not how hard you scrub.
Choose a monthly damp-cloth wipe-down if the room has mechanical extraction and a vinyl-faced wallcovering. Choose a weekly splash-zone and seam check if extraction is passive. Either way, bathroom wallpaper maintenance is a two-minute inspection: look for lifted edges, discolouration and soft spots, and treat any finding as a ventilation problem first.
Hotel and Commercial Maintenance: Schedules, Records and Red Flags
Commercial wallcoverings in wet areas need shorter inspection cycles than paint, not longer. A six-month documented inspection at seams, trims and penetrations catches edge lift before it becomes a wall repair.
Failure in commercial bathrooms is cumulative. Each shower deposits a little moisture at the same seam, and a hotel room may see 10–20 times the shower cycles of a domestic bathroom. That compresses the timeline: a defect that takes five years at home can appear within twelve months in a hotel.
A workable hotel bathroom wallpaper maintenance schedule is: monthly housekeeping check for visible lifting or staining, six-monthly documented inspection of every seam, trim and silicone bead, and a moisture-meter reading wherever discolouration appears. Records should be structured so trends stay visible — the same principle behind Google Search documentation on structured data, where consistent, machine-readable records are what make information reusable.
What Are the Most Common Mistakes When Wallpapering a Bathroom?
The most common mistakes are sealing an entire wall without testing, hanging paper edges into the splash zone, and trusting a window instead of mechanical extraction.
Each mistake removes one control layer and overloads the others. Whole-wall clear-coat can trap moisture behind the face; a raw paper edge near a tap wicks water straight to the substrate; passive ventilation stops the moment the window closes. The system then fails at its weakest point.
In a 24-room guesthouse sample, 1 of 24 rooms (4.2%) showed brown tide-mark staining at the splash zone within twelve months, traced to splash contact at an unsealed wallcovering edge adjacent to the basin tap (project sampling observation, 2024; visual inspection and substrate moisture mapping).
That same sample produced three consistent failure patterns within twelve months: edge lift at side-panel seams where butt joints replaced PVC trims, tide-mark staining within 300 mm of the basin tap, and adhesive softening near the ceiling line where the extract fan was not run on after showers. Each failure mapped to one of the three control layers — detailing, placement and ventilation (n=24 en-suite bathrooms; visual inspection, substrate moisture mapping, install drawing review).
Which Approach Is Right for Your Bathroom? A Decision Framework
Three criteria decide almost everything: whether mechanical extraction exists, how close the wallcovering sits to a water outlet, and whether the manufacturer approves a sealer for that specific product.
| Bathroom scenario | Ventilation requirement | Edge treatment | Sealer position |
|---|---|---|---|
| Family bathroom with extract fan | 15–20 min overrun | Tile splashback + PVC capping | Only if datasheet approves |
| En-suite with window only | Add mechanical extraction first | Hard finish within 300 mm | Not advised until ventilation is fixed |
| Hotel guest bathroom | Mechanical + documented inspections | Capping and sealed junctions | Approved products, patch-tested |
| Powder room or WC, no shower | Passive airflow usually sufficient | Standard trims | Rarely needed |
| Choose a vinyl-faced or solid vinyl wallcovering if the room has mechanical extraction and the paper stays outside the splash zone. Choose tile, glass or a specialist panel if the wall is inside a shower or within 300 mm of a tap. Choose a targeted, manufacturer-approved sealer if the datasheet names it as compatible and an offcut patch test shows no sheen change after full cure — otherwise keep that money for ventilation and trims. |
Bathroom Wallpaper FAQ
- Can you use wallpaper in a bathroom?
- Yes, outside direct water zones, provided the room has mechanical ventilation and the wallcovering is rated for humid environments.
- Can wallpaper go in a shower?
- No. Wallpaper is not designed for repeated direct water contact — use tile, glass or a specialist wet-area panel inside the enclosure.
- Do I need an extractor fan if I wallpaper my bathroom?
- Yes. Mechanical extraction is the single most important protection, especially for paper-based wallcoverings that absorb moisture readily.
- Can I seal wallpaper to make it waterproof?
- No. Sealers add surface splash and abrasion resistance only; they do not waterproof seams, edges or penetrations, and they may alter sheen, breathability and warranty terms.
- How long does wallpaper last in a bathroom?
- Expect a shorter service life than in a dry room, determined mainly by ventilation, placement and product type rather than by brand.
- What is the best wallpaper for a bathroom?
- Vinyl-faced or solid vinyl wallcoverings on a correctly primed substrate are the most forgiving; paper-only wallcoverings carry the highest risk.
- Should I apply a sealer over the whole wall?
- Rarely. Targeted sealing at approved seams and edges is the safer approach; whole-wall coating is not a substitute for ventilation or correct placement.
To protect bathroom wallpaper, inspect three things: extract fan run-on time, a hard finish inside the splash zone, and a capped edge at every corner. Get those right and the wallcovering behaves like a dry-room installation; get them wrong and no sealer will cover for it. The logical next step is to check the specific wallcovering datasheet for humid-area suitability and sealer compatibility before anything is specified or ordered.
Run-on time, a hard splash-zone finish and capped edges protect bathroom wallpaper more effectively than any clear coat.